


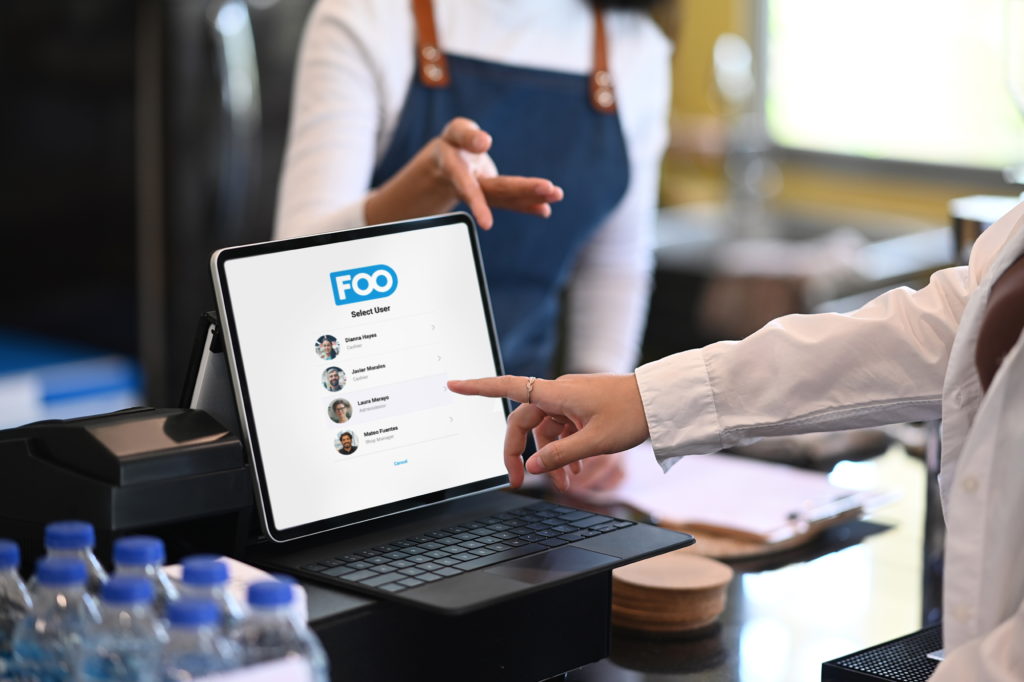
Managing a busy store means juggling schedules, inventory, and most importantly, security. You need absolute confidence that the right staff members have the right access to your Point of Sale (POS) tools—nothing more, nothing less. We’ve been listening closely to how you manage your stores, and today, we’re thrilled to introduce a massive leap forward in user management in FooSales.
Starting with FooSales plugin version 1.43.0, you have significantly more control over which users should have access to the POS as well as what features each user or role is allowed to make use of in the POS.
Out-of-the-Box Functionality & WordPress Integration
We’ve designed this update to integrate smoothly into your existing workflow without causing disruptions. When updating the plugin to version 1.43.x, the Administrator, Shop Manager, and Cashier user roles will automatically receive access to the POS as well as all the features within the POS.
FooSales manages access to the various features in the POS by making use of WordPress user role capabilities.
Granular Customization of User Roles
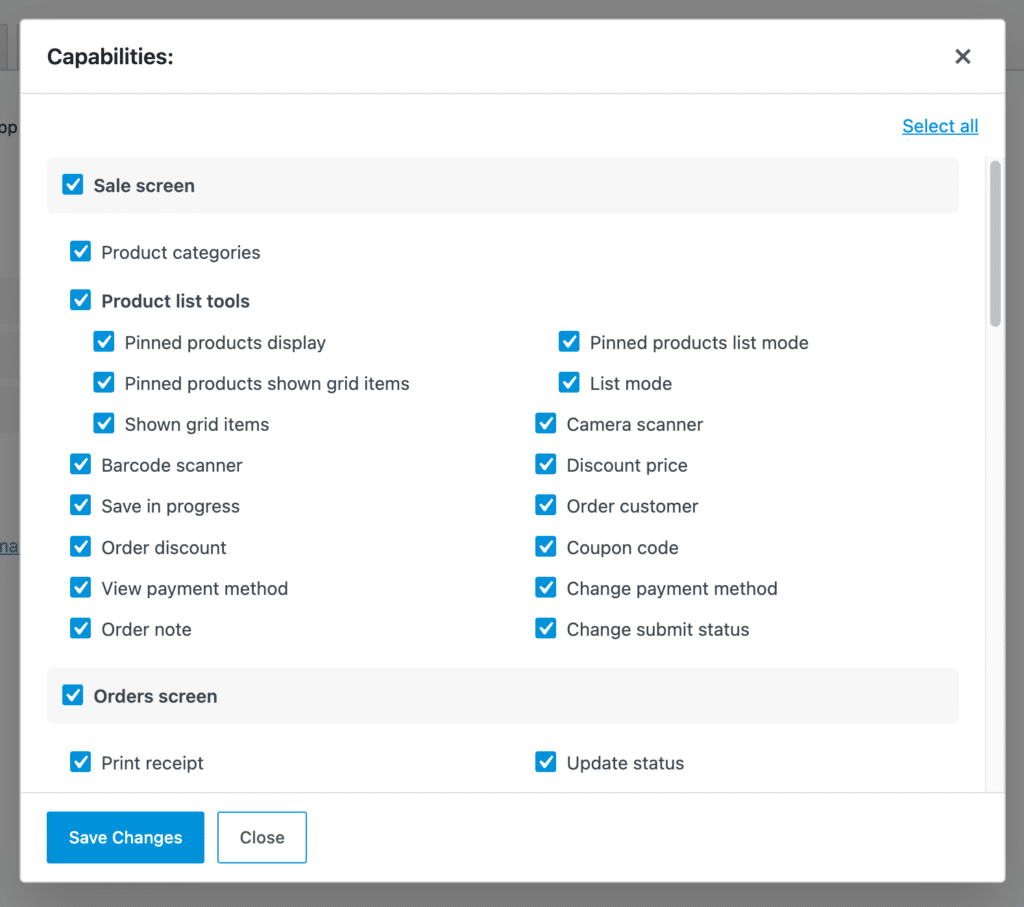
No two stores operate exactly the same way, which is why flexibility is central to this update. Navigate to the FooSales plugin settings Users tab to see a list of user roles that have FooSales POS access. Initially only the Administrator, Shop Manager, and Cashier (FooSales) user roles will be listed.
- You can click the view or edit icon next to each user role to view or modify the enabled POS capabilities for that user role.
- The Administrator user role has access to all capabilities and cannot be modified.
- Click the Add new user role button to add a new user role that will automatically have FooSales POS access.
- You can either create an empty user role or make a copy of an existing user role which will include all that role’s enabled POS capabilities.
Need to lock down access for a specific employee? User role capabilities are checked by default and cannot be unchecked individually for an existing base role. If you need to remove certain capabilities for a POS user that are enabled by default for their current user role, you can add a new user role as a copy of the user’s current role and then uncheck the capabilities that should not be enabled for that user. You can then change their user role to the newly created role by selecting it from the dropdown. The capabilities will be updated according to the selected user role and you can then check or uncheck remaining capabilities as needed for that specific POS user.
Added Security: PIN Locks & Auto-Lock
Securing an unattended terminal is critical. We’ve introduced robust mechanisms to ensure your POS data stays safe.
- You can enable PIN lock to secure the POS using a unique PIN set in each user’s profile.
- With PIN lock enabled, a POS user will need to enter their PIN in order to unlock the POS after successfully connecting to the store.
- The current POS user will need to click the Unlock button and enter their 4-digit PIN to unlock the POS.
- With PIN lock enabled, you can optionally enter the auto-lock timeout in minutes to specify the duration of inactivity before the POS locks automatically. Entering 0 (zero) or leaving this input blank will disable auto-lock.
If you have PIN lock enabled, a POS user can lock the POS by opening the Settings screen in the POS and clicking the Lock POS button. The POS will lock immediately. When the POS is locked, the app will pause any background data fetching and order alerts.
Frictionless User Switching & PIN Management
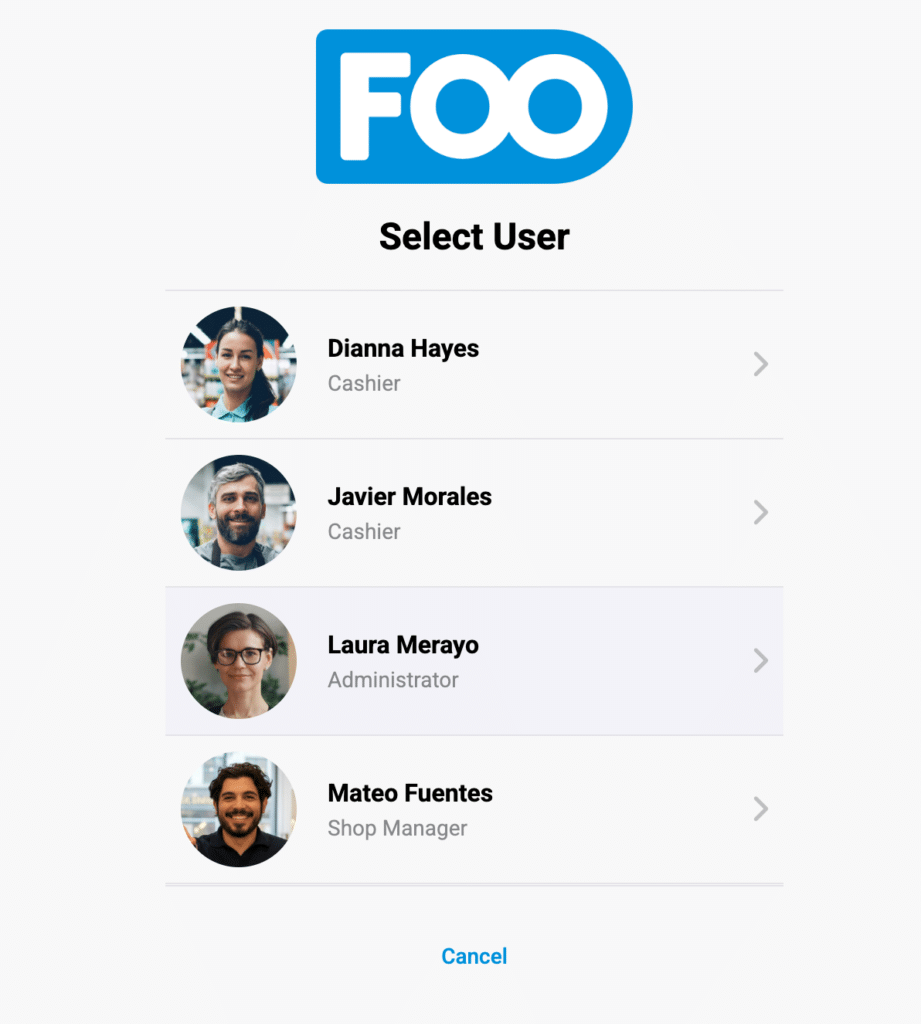
Shift changes shouldn’t slow down the checkout queue. You can switch to a different POS user without having to disconnect and reconnect the POS using different login details. From the Settings screen or lock screen (if PIN lock is enabled) click the Switch User button to display the POS user selection screen.
Depending on the current POS user’s capabilities, various options are shown when selecting a different POS user:
- If the current POS user has the capability of switching users without having to enter their PIN, then they can simply click the Switch User button to switch to the selected POS user.
- Otherwise an Unlock button will show and they will need to enter that POS user’s PIN in order to switch.
- Once the POS switches to the selected POS user, the entire interface will update automatically to show or hide screens or functionality based on the new POS user’s capabilities.
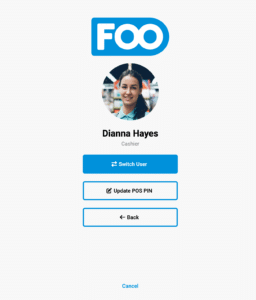
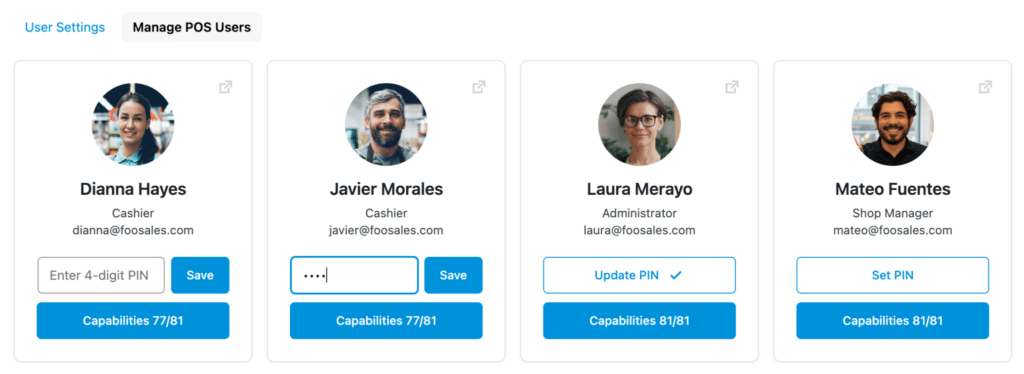
Click the Manage POS Users tab to view all users who have POS access as well as what their user role is. If PIN lock is enabled and you have the capability of changing other POS user’s PINs, you can set or update the POS PIN of each individual user by clicking the Set PIN or Update PIN buttons. If the current POS user has the capability of changing other POS users’ PINs then they can click the Update POS PIN button directly from the switch user interface to enter a new PIN for the selected POS user.
Order Accountability
Finally, keeping track of who handled which transaction is easier than ever. The user ID of the current POS user gets associated with any submitted order and they become the “cashier” for that order.
This tracking is dynamic: If an order was submitted by another POS user as incomplete and the current POS user continues the order, the current POS user will automatically become the new “cashier” associated with that order.
Update your FooSales WordPress plugin today to experience a more secure, streamlined, and customizable point of sale!
 English
 German
 Dutch
Dutch Spanish
 Italian
 Portuguese
 French
 Polish
 Greek
Greek