Don’t have a barcode scanner? Visit our Hardware page to see a list of recommended options.
If you are new to barcodes and barcode scanners, it might seem quite complicated and overwhelming at first, but in reality, barcodes are super simple and designed to save you time. This post will take you through everything you need to know in order to use barcodes with WooCommerce and FooSales.
- What are barcodes?
- How do barcode scanners work?
- Connecting a barcode scanner to your device
- Configuring the scanner
- Enable Bluetooth mode
- Scanning products in FooSales
- Using the built-in camera
- Bonus pro tips
What are barcodes?
A barcode is simply an image that represents an alphanumeric value. The image is scanned using a barcode scanner, which then decodes the image to determine the value the barcode represents. That value is then sent to your device and used to identify the product. Barcodes save you from having to manually enter the products ID number, which reduces human error and significantly speeds up the checkout process.
The reason we use barcodes is that it would be difficult for a scanner to accurately scan and identify traditional values such as ‘5’ or ‘132680345734548-abc’. However, it is fairly easy to scan a series of lines and measure the width of the lines. The width of the lines are unique for each number.
Here are a few basic examples:

Barcodes are generated using a barcode font, much like the fonts you use in Word or on your website. The only difference is that rather than the font changing the style of the characters, it replaces the characters with the corresponding barcode symbol.
How do barcode scanners work?
Barcode scanners are input devices, much like a traditional keyboard. When a barcode scanner scans a barcode image, it converts the barcode image into the corresponding text value and sends the value to your computer or tablet, much in the same way that a keyboard would send a text value to your device if you typed it in. As an experiment, you can connect a barcode scanner to your computer, open up a text editor like Notepad or TextEdit and scan any barcode. The scanner will send the value that the barcode represents to your computer as if you typed it out on a keyboard. Barcode scanners can capture these values a lot faster than if you were to type them out and are less prone to error.
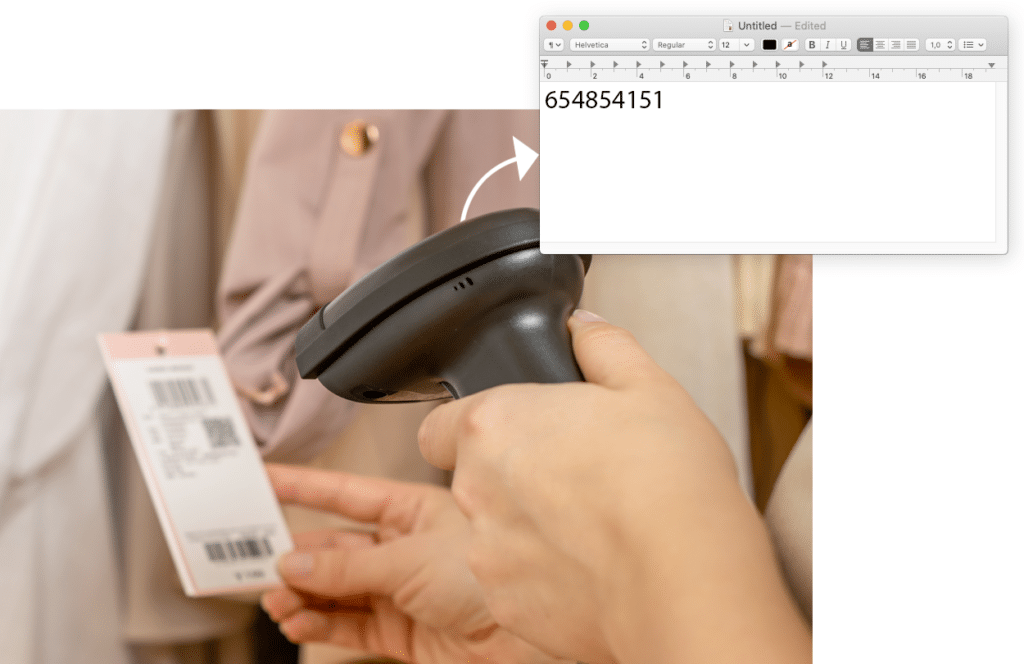
Connecting a barcode scanner to your device
USB barcode scanners
If you are using a barcode scanner for your desktop computer and it connects using a USB cable, you should be able to plug it in and start scanning barcodes straight away. You can test to see if it is scanning correctly by opening a basic text editor application such as Notepad or TextEdit and then scanning any barcode. When you scan a barcode, a number should display in the text editor which is what the barcode represents. If the incorrect number displays, please move on to the next section (Configuring the scanner).
Bluetooth barcode scanners
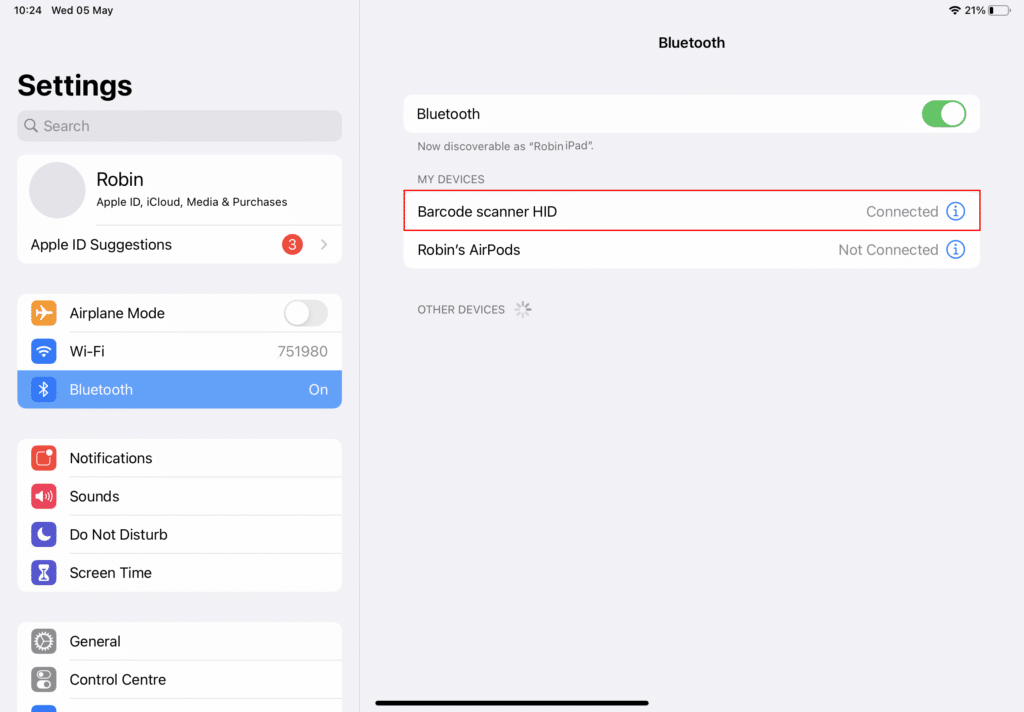
If you are using a Bluetooth barcode scanner, you will first need to pair or connect it to your tablet or computer. This works exactly the same way as pairing a Bluetooth speaker, headphone or keyboard. You will need to go to the Bluetooth settings on your device and ensure that Bluetooth is turned on. You can then find the Bluetooth scanner in the list of available Bluetooth devices. You will then need to connect/pair the scanner to the device.
Once connected, open a basic text editor application such as Notepad or TextEdit and scan any barcode to make sure that the device is working correctly. If the incorrect number displays, please move on to the next section (Configuring the scanner).
Configuring the scanner
Barcode scanners are made by various manufacturers and come with different default factory settings. Since most barcode scanners don’t contain built-in displays or buttons that you can use to configure them, the trigger button will usually be the only method to scan barcodes. Your barcode scanner should come with a manual or page that includes a series of barcodes. Each barcode will perform a different command when scanned and will make it possible to calibrate and configure your scanner as needed.
Example of a scanner setup sheet:

This is an example of a scanner setup sheet. Setup differs depending on the manufacturer. If you have lost your setup sheet, try Googling the make and model of your particular device and add the term ‘Setup’ or ‘barcode setup sheet’.
Here are a few common setup options that might need to be configured (differs between manufacturers):
- Barcode encoding – Depending on your device, it might scan barcodes in a different format/encoding by default. Make sure that your barcode scanner is set to Code-128.
- Enable/disable new line return – Be sure to configure your scanner so that it doesn’t add a new line when scanning a number. This might cause issues since the barcode numbers won’t match because of this extra character.
- Language – Make sure that the barcode scanner is set to the correct language or it might return unexpected characters when scanning.
The best way to test if your scanner is scanning correctly, is to open a basic text editor application such as Notepad or TextEdit and scan a barcode to make sure that the output is correct.
Once you have connected and configured your barcode scanner, you are ready to start scanning barcodes using FooSales.
Enable Bluetooth mode
After you have connected the barcode scanner to your device and configured it correctly, you can use it to scan barcodes in the FooSales tablet apps and FooSales web app. You will, however, need to enable Bluetooth mode within the app in order to do so.
FooSales iPad and Android tablet apps
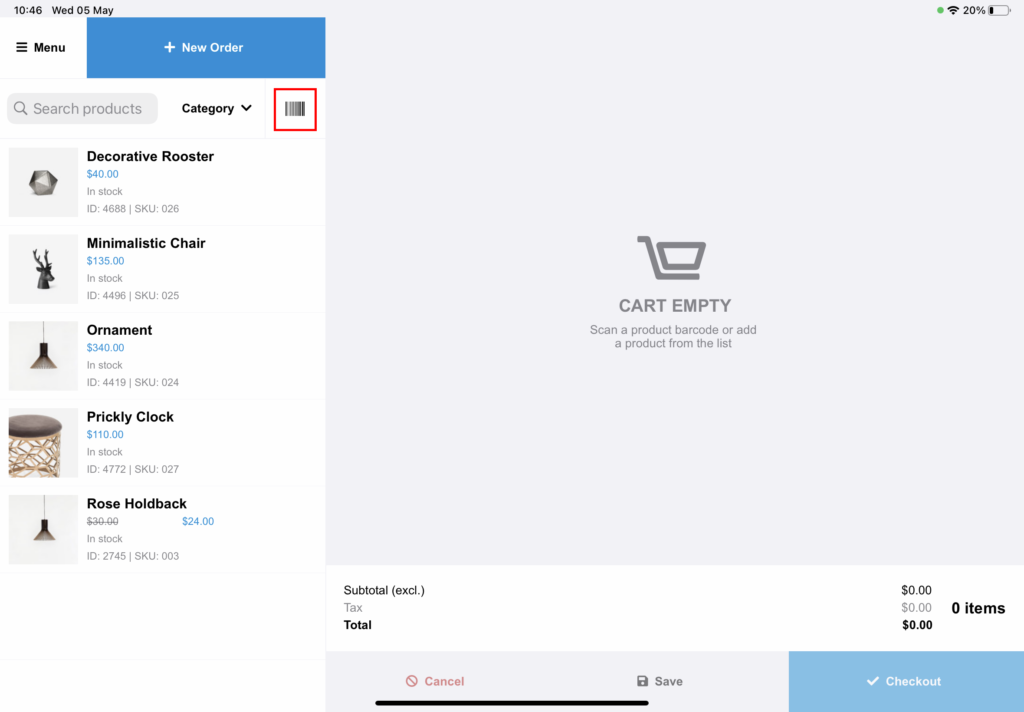
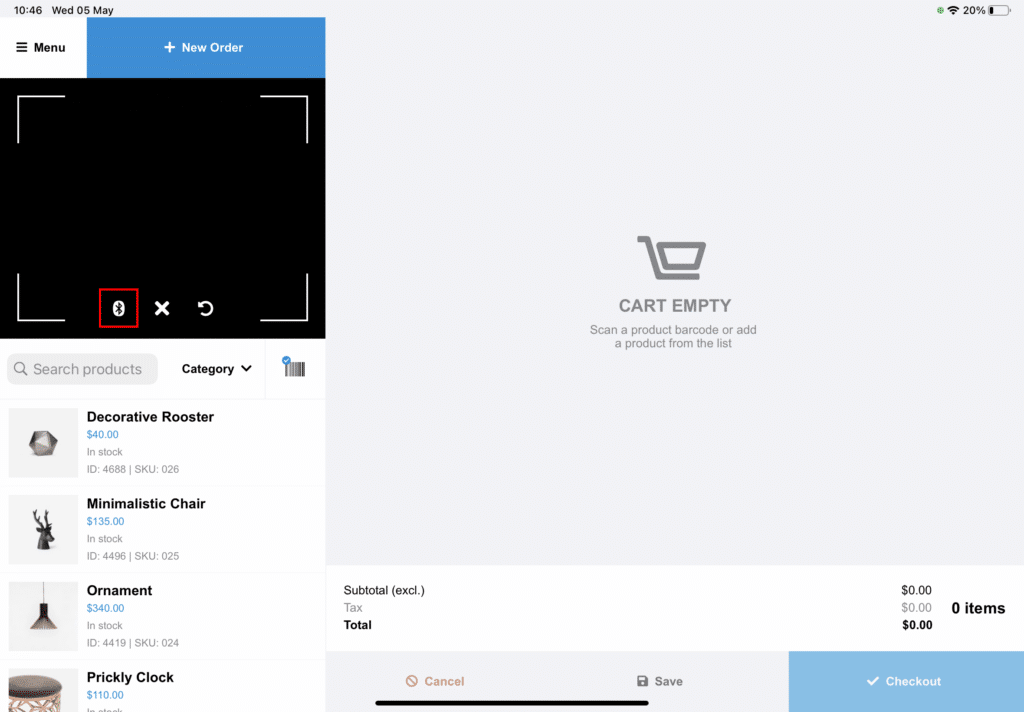
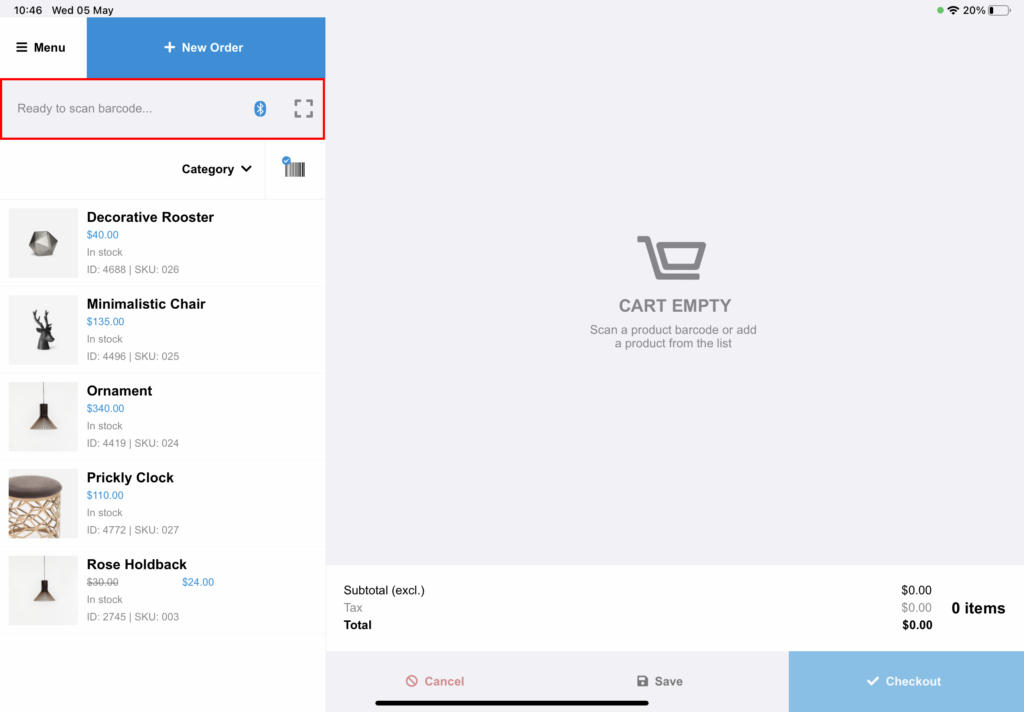
Select the barcode icon. By default, you can scan barcodes using the device’s built-in camera. Select the Bluetooth icon to enable Bluetooth mode. Once enabled, the device will then listen for input from the barcode scanner and automatically find a product with an SKU that matches the number sent by the barcode scanner.
FooSales web app
Select the barcode icon to enable Bluetooth mode. The web app will then listen for input from the barcode scanner and automatically find a product with an SKU that matches the number sent by the barcode scanner.
Scanning products in FooSales
When you scan the barcode for a product, the FooSales apps will take the number it receives from the barcode scanner and search for a product that has a matching product ID or SKU. If for example, your barcode represents the number ‘833’, the app will find a product that either has a matching product ID or an SKU set to ‘833’ and add it to the cart.

If you would like to use the barcodes that are already printed on your products, you will need to enter the existing barcode number in the SKU field when editing the product in WooCommerce.
When printing your own barcodes, you would typically print barcodes that match your product IDs or existing SKUs. There are various third-party plugins and web services that will help in doing so.
Using the built-in camera
In addition to scanning barcodes using a barcode scanner, you can also scan them using the device’s built-in camera. To do so, select the barcode icon and place the barcode in the view of the device’s camera (iOS and Android only).

Bonus pro tips
- If you’re using regular 1D barcodes on your products, try using QR codes or another type of 2D barcode instead, as they generally produce less scanning errors and can be printed smaller without any negative effects.
- Print the barcodes larger and at the highest possible resolution. Use a specialized barcode label printer for best results.
- Ensure that there is enough light and contrast when scanning barcodes and try to avoid scanning in lowlight environments.
- Ensure barcodes are not positioned too close to each other as they might confuse the scanner.

